Knowing the ins and outs of charging your Arlo Camera is extremely important for home safety. After all, what good are your cameras if the battery is dead?
However, some aspects of battery life can be confusing to the untrained eye. With status lights changing colors and intermittently flashing, it can be alarming if you don’t know what these indicators mean.
Thankfully, all of this is easy to get to grips with. It just takes a little bit of knowledge, and these signs give you an immediate hint of what you need to do next. So, what do you need to know about charging your Arlo Camera?

1. Where is the Charging Port on my Arlo Camera?
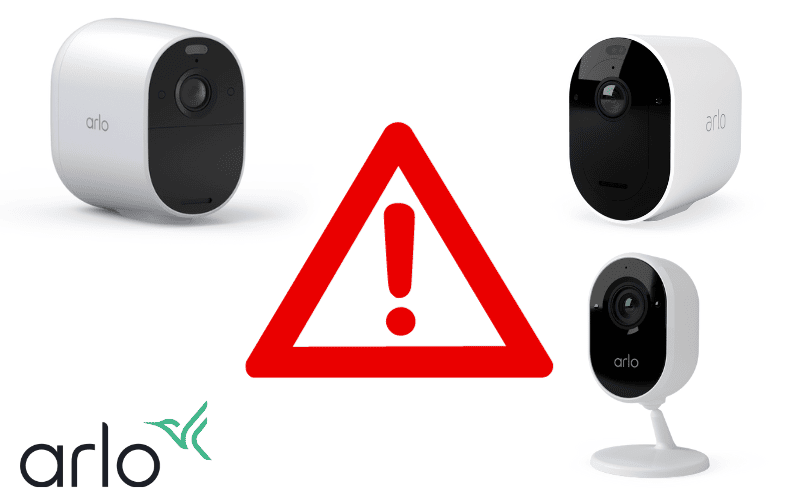
Arlo Pro models have a USB port on the camera body hidden by the camera housing. In the Arlo Essential, the charging port is found on the bottom of the camera, covered by a small flap that can be easily opened.
It means that the camera needs to be removed from the housing and charged away from it in a safe indoor area. This can be a little tricky to get right but can quickly be done in just a few steps.
2. How to Charge your Arlo Camera?
How to charge your Arlo Pro Camera?
- Press the round button underneath the camera housing and wait for the camera to pop out. It should appear after a click.
- Remove the camera from the housing bracket and take it into an indoor area
- Connect the USB charger and wait until the camera is fully charged
How to charge your Arlo Essential Camera?
When it comes to charging your Arlo Essential Spotlight Camera, there are a couple of different things you need to do with other models.
Firstly, the charging port is found on the bottom of the camera. It is covered by a small flap which can be easily opened. You will also need to unscrew the camera from its mount before you move it to be charged.
So, here is how you charge an Arlo Essential Camera:
- Unscrew the camera from the mount and pull it from its casing
- Take into a dry, indoor area
- Open the flap at the bottom of the camera and insert the USB cord to begin charging.
No matter if you are using the Arlo Essential Spotlight Camera or the Arlo Pro series, it’s worth mentioning that the cameras will not work if charged via a USB output. They will only work once they are reconnected to their housing base.
3. What Is the Color of My Arlo Camera Charging Light?
There are a couple of things to look out for when you are charging your Arlo Camera. One bonus about Arlo devices is that they give different visual indicators to highlight how far they have charged.
These changes do vary from model to model, so it can get a bit confusing if you have switched between models or added more to your collection and expecting the same results. So what do you need to look for?
Understanding Arlo Charging Lights
When you see lights during the charging process, it will generally mean two things: that the battery is charging or that charging is finished. The thing is that this varies between each model.
So here’s a breakdown of what each model shows when charging:
- For Arlo Pro Series, Arlo Ultra Series, and the Arlo Essential Series, the light will flash blue three times to indicate charging has begun, and then the light will switch off. When charging has finished charging, it will stay a solid blue.
- If you are using the Arlo Charging Station, the lights will flash amber during the charging process. A fast flash indicates that the batteries are below 50%, whilst a slow flash will show that the batteries are over 50% charged.
- Once the Arlo Charging Station batteries have finished charging, the light will switch to a green light with no flashing.
- If the batteries on the Arlo Charging Station are blinking amber and green, it means that the charging failed.
By noticing the different light colors, it quickly gives you an indication as to how much charge the camera battery will have.
When the camera is connected, you can keep an eye on the battery levels, which are displayed once you open up the Arlo app.
4. Why is My Arlo Camera Not Charging?
There is nothing more frustrating than getting stuck with a flat battery, and not being able to charge the battery only adds to your problems.
Therefore, it is good to know a host of quick tricks to help solve any issues that might be affecting the charging process. So what could these issues and solutions be?
Check all connections
The first thing to do is check all the connections involved with charging. This means checking that the USB plug is connected properly to the wall. After that, make sure the USB cord is sitting properly in the adapter, the camera, or in both ports.
Check the Adapter
If everything is connected, make sure that the power adapter works with Arlo devices. For a power adapter to work with an Arlo device, it needs to be:
- Connected to a 9V socket
- Have a QC 2.0 icon
- Be made either by Arlo or Netgear
Check all of these aspects on the charger head before you connect your camera to the device.
Check Charging Light
Sometimes, the charging light of the camera can reveal what your issue might be. Instead of flashing blue when it is connected to the charger, it will flash amber instead.
If it flashes amber, check that the charging port is debris-free and wipe it. If you find the problem persists, try the adapter with another device to work out if it is with the adapter or the camera.
Should the issues prove to be with the USB cord, try using another cord to charge your device.
Check the Arlo App
Just like it does when connected, the Arlo App can give updates on the camera as it charges. Sometimes, the app will provide extra details if it detects an issue with the charger.
For example, the app will display a message such as “The charging source cannot charge your battery.” If you get this message, you will need to use another adapter to charge the battery.
Performing a factory reset
If nothing else works, you can also reset the device back to its factory settings. This will eradicate any software bugs in the camera. However, it means that the device will need to be set up again from the beginning.
How to reset your Arlo Pro Camera
- Remove the camera from its casing.
- Hold the Sync button until the LED starts blinking blue. You must wait for the light to blink three times.
- Begin the restart procedure.
Once this is done, re-connect your device to the charger and see if it begins charging properly. Make sure you charge the device fully before setting the device up to any personal configurations.
Conclusion
As you can see, there are plenty of unique tricks to help you understand and see whether your Arlo Cameras are charging or not. It’s always worth removing the camera from its housing case before charging so you can access the USB port. Once you have done that, have a look at the LED lights to make sure that charging has begun and also to see when it has finished.
If you do have issues charging your Arlo Camera, make sure everything is connected and debris-free before trying anything else. You can also check the camera with other cords or cords with other devices to work out where the issue may lie. All this can quickly tell you how you can fix your charging dilemma. Once you are all sorted, it will let you keep all your devices charged and able to watch over your property. And that no type of Arlo Camera charging dilemmas will hinder efforts to keep your home safe all year long.


