To install a Ring Video Doorbell, confirm which model you own and how it is powered, charge it or check your transformer, add it in the Ring app, mount it about 4 feet (1.2 m) above the ground, then test it. Installs usually fail when people skip the checks.
Those checks come first in this guide. You will identify your model, read the label on the doorbell transformer (the small box that sends low-voltage power to a wired doorbell), configure the doorbell in the app when it remains close to your router, and only then drill. Ring doorbell common questions addresses many other Ring subjects if you need fast answers.
Confirm your model and how it is powered
Easy · 5 minCheck the packaging, the rear of the doorbell, or the specific model listed on your order confirmation. Ring has changed the names of several products, so older guides might not match what you hold. For instance, the Video Doorbell Pro 2 has been renamed the Wired Doorbell Pro.
Next, categorize your doorbell into one of three groups:
- Battery models. These devices run on a battery you charge. You can install one optional power source (see step 6).
- Wired models. They require power from your current doorbell wiring and a suitable transformer. They lack a battery requiring charging.
- Battery models on existing wiring. This is the battery model configured so your doorbell wiring serves as its optional power source.
If your setup uses a battery model without any doorbell wiring, you can skip step 2.
Check the transformer and chime (wired and hybrid only)
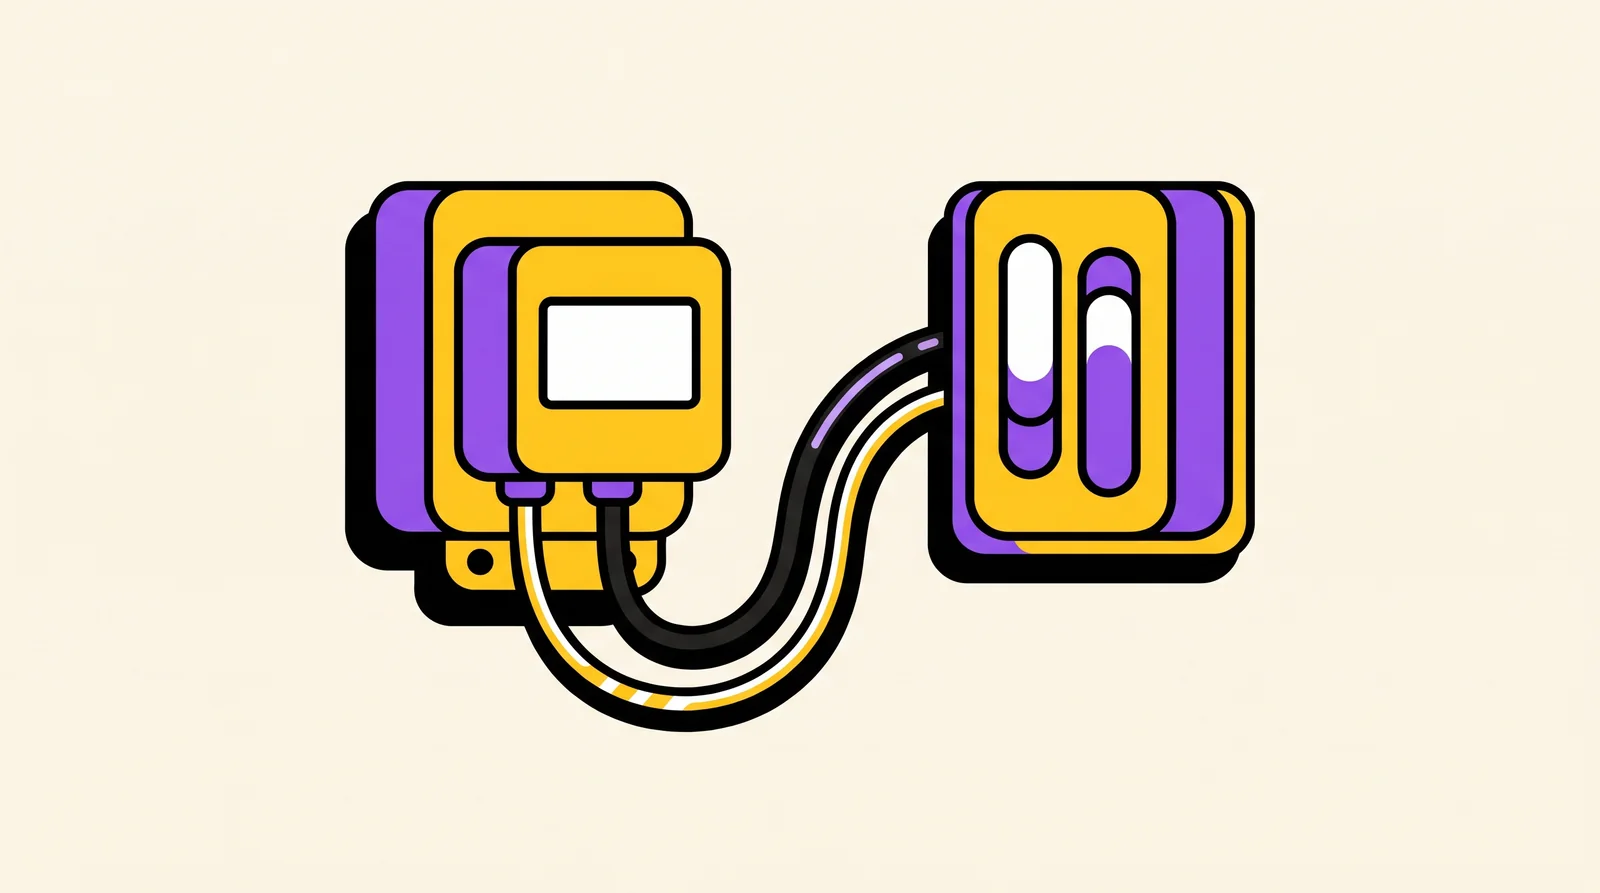
Intermediate · 10 minYour wired doorbell requires the correct voltage. Locate your transformer, usually found close to the chime, furnace, or electrical panel, then check its label. Since you are just reading it, leave every panel and box closed. Should the transformer be located within the electrical panel or a sealed enclosure, have a licensed electrician inspect it.
You’ll see volts (V) and either amps (A) or VA on the label. If V and A are the only values shown, multiply them together to calculate VA. For instance, 8V × 1.0A = 8VA.
These ratings are listed by Ring in its doorbell wiring compatibility article (new tab):
| Model | Voltage | Power |
|---|---|---|
| Video Doorbell Wired | 8 to 24 VAC | 8 to 40VA |
| Video Doorbell Pro, Wired Doorbell Pro, Wired Doorbell 2K Plus | 16 to 24 VAC | 10 to 40VA |
| Battery doorbells (using existing wiring) | 8 to 24 VAC | 5 to 40VA |
Ring’s UK edition is that page. If you are located outside the US, refer to whether Ring devices work in other countries. If your exact model, such as the Wired Doorbell Plus, is missing from the table, consult Ring’s article before you buy or wire anything.
Mains voltage, meaning the full household current like 120V in the US, is not compatible with Ring Video Doorbells. Connecting one directly to mains will damage it and can hurt you. Should the output side of your label display 120V, or should you be uncertain, halt and contact an electrician.
Charge the battery (battery models)
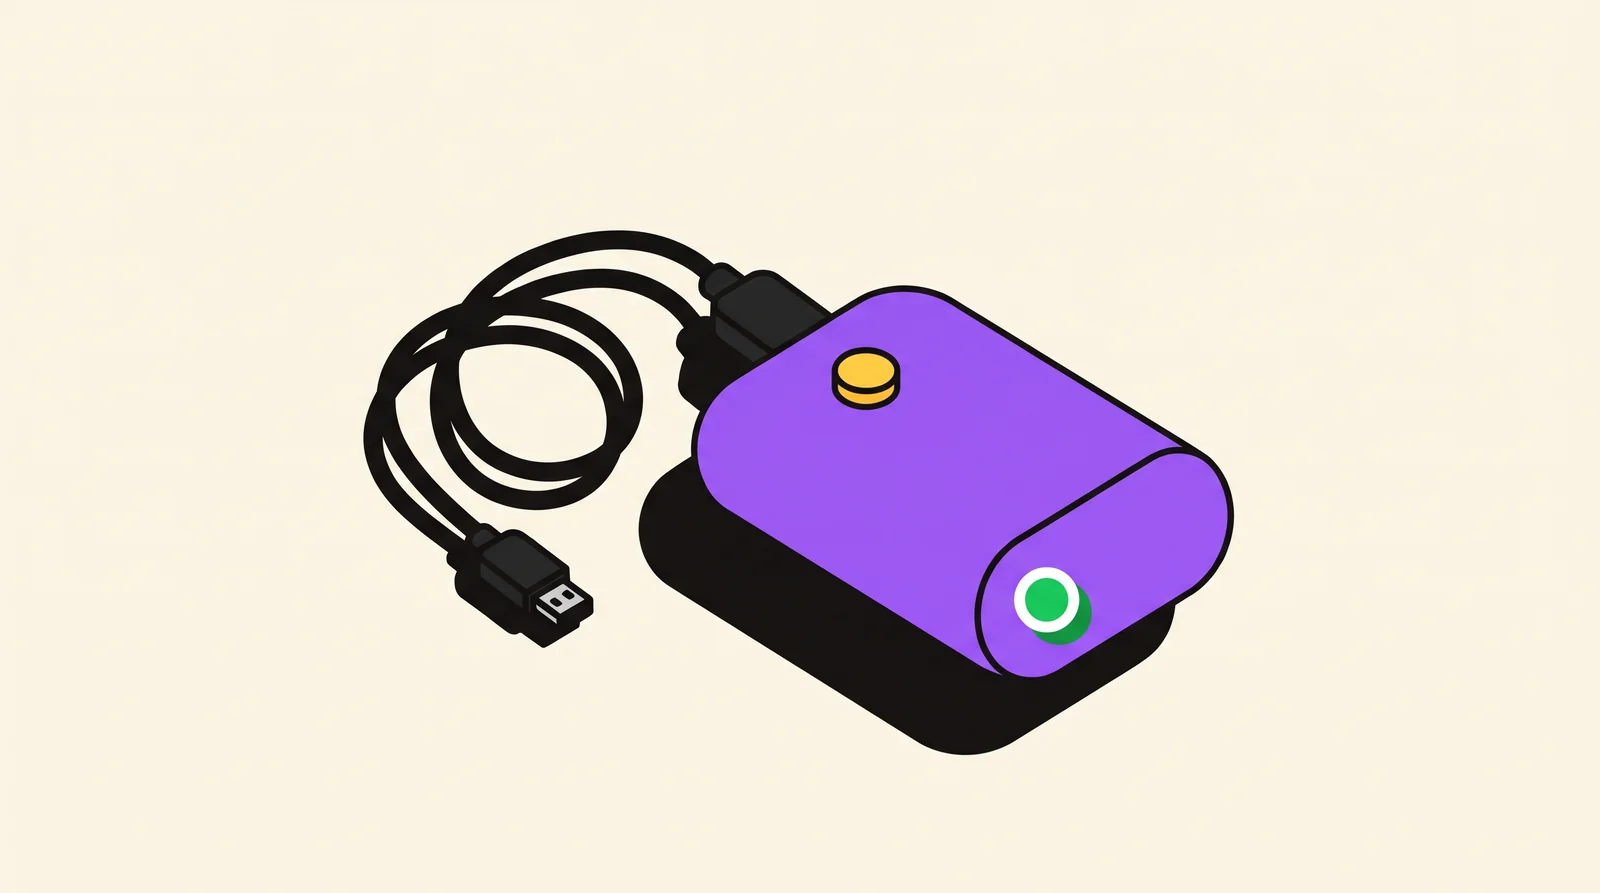
Easy · Until the light says it is doneBefore doing anything else, charge it up. Ring doesn’t provide a specific hour count, so rely on the lights:
- Removable battery: charge it until just the green light stays on.
- Built-in battery: charge the doorbell until the LED circle is fully lit.
Recharge it via USB. Slide the battery back in, or unplug the cable, only when the light shows it is full.
Add the doorbell in the Ring app near your router
Easy · 10 minComplete this step before attaching any component. Should the setup not work, the doorbell can still be repositioned anywhere in your home for another attempt, all without drilling a single hole.
- Launch the Ring app on your mobile device and log in (set up an account first if you have never used Ring).
- Select the option “Set Up a Device” and pick the doorbell category.
- Follow the prompts. The app requests that you scan the QR code located on the doorbell, so grant camera permission if your phone prompts you.
- Select your home Wi-Fi Wi-Fi network, enter the password, then wait while the app verifies the connection.
- Launch “Live View” and verify that an image appears.
Wired models are the exception: without power, the app cannot find them. First complete step 6, bring the power back on, and then return to this step.
Pick the spot and the height
Easy · 5 minRing suggests installing the doorbell roughly 4 feet (1.2 m) above ground level. At that height, position the doorbell against the door frame and access “Live View” within the app. Confirm the image captures what you’d like to see, such as the porch and the walkway.
Next, launch “Device Health” in the app and verify the Wi-Fi signal at that precise location. A Wi-Fi extender or a different router position may help before you drill if the signal is weak there.
Before mounting the doorbell, install the Wedge Kit or Corner Kit (angled mounts that rotate the camera view) if your box includes one.
Before working on wiring, shut off the power at the breaker. Your old doorbell stops ringing, and everything else on that circuit goes off too. Verify the old doorbell stays silent prior to handling any wire. If you need to pause for the day, never leave exposed wires dangling. You should cap them or tape them before turning the power back on.
Connect power (wired models, or one optional source for battery models)
Advanced · 20 minHardwired doorbells:
- Shut off the power at the breaker and press the old doorbell button to make sure it’s dead.
- Take off the old button. Secure the old wires with tape so they cannot slip back into the wall.
- With a mechanical chime inside your home, install the kit or cable Ring recommends for your specific model and chime. This is the Pro Power Kit, the Chime Kit Mini or a jumper cable between the “Front” and “Trans” terminals. Your Ring model’s instructions specify which one you need.
- Attach the two doorbell wires to the screws. If the wires are too short, use the included extension wires and wire nuts.
- Switch the breaker back on.
Battery models (optional): to help keep the battery charged, you can add one source: a solar charger, a plug-in adapter, or your existing doorbell wiring.
According to Ring, you should attach just one optional power source to a battery doorbell. Never simultaneously connect either a solar charger with a plug-in adapter, or existing doorbell wiring with a solar charger.
Mount the doorbell
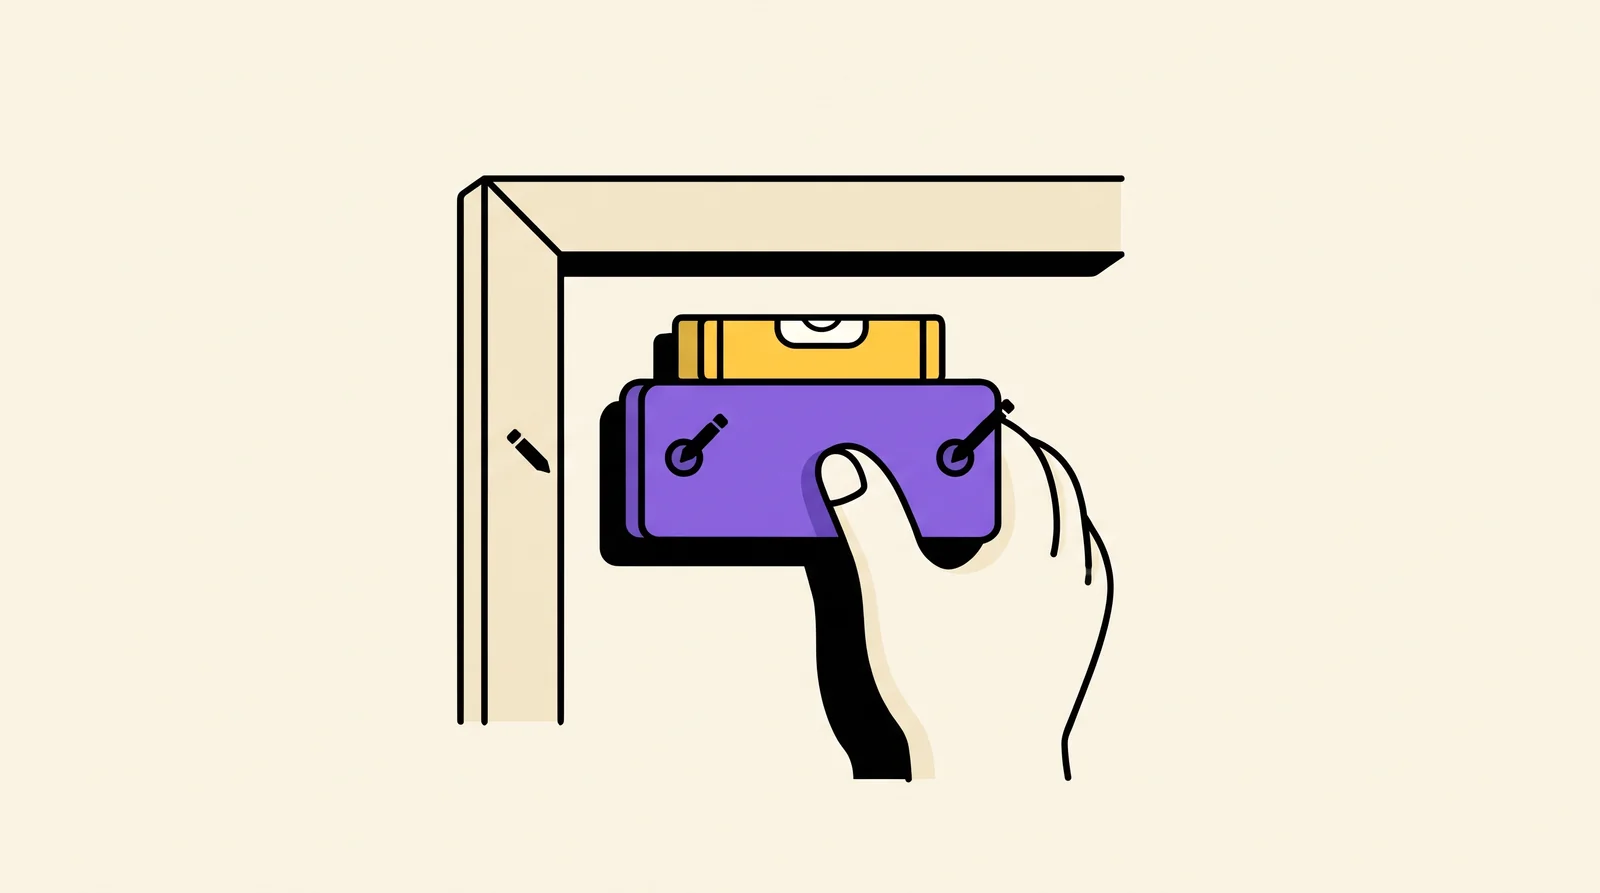
Intermediate · 15 min- Position the mounting bracket, Wedge Kit, or Corner Kit at the indicated height. Ensure it’s straight by using a level.
- Use a pencil to mark the screw holes.
- Wood or siding: there’s no need for pilot holes or anchors. Drive the bracket directly in.
- Brick, concrete or stucco: using a 1/4-inch (6 mm) drill bit, drill pilot holes (check the guide for your model), and then insert the anchors.
- Screw the bracket on, feed any wires through, and attach the doorbell.
Wear safety glasses when you drill into masonry.
Test it, then secure the faceplate
Easy · 5 min- Hit the doorbell button. Your phone should receive an alert. A wired chime should ring if you have one.
- Launch “Live View” and verify the picture and audio.
- Cross the porch to check if it detects motion.
- Secure the faceplate by inserting the security screw. Ring saves this step for last, after everything works.
In the app the doorbell appears online, “Live View” loads, pressing the button triggers an alert on your phone, and “Device Health” reports a signal you can live with at the mounted spot.
If something goes wrong during setup
- The app will not finish setup: move the doorbell nearer to your router, double-check the Wi-Fi password, and make sure the app has camera access for the QR code. Additional fixes are in Ring doorbell typical problems.
- A wired doorbell has no power: flip the breaker back on, next ensure all wires sit snug on their screws and confirm you picked the proper chime kit or jumper. Match your transformer label against the table in step 2.
- The indoor chime stays silent: an unwired battery doorbell lacks a connection to your existing chime. The standard approach is to wire it. A wired doorbell also requires the correct chime kit or jumper.
If nothing worked
Reach out to Ring Support via the Ring contact page (new tab). Keep your doorbell model, serial number, doorbell light color, transformer voltage and VA, plus any app error message handy.
Frequently Asked Questions
How long does the Ring battery take to charge before installing?
Ring provides no specific timeframe. With a removable battery, keep charging until the green light is the only one still on. For a built-in battery, keep charging until the LED circle is completely illuminated.
Do I need an electrician to install a Ring doorbell?
A battery model doesn’t require one. With the breaker off, many homeowners tackle installation themselves when they have a wired model, a compatible transformer, and existing doorbell wiring. If the transformer is missing, is located inside the electrical panel, or fails to match the ratings in step 2, you should call an electrician.
Can I use a Ring doorbell with both a battery and doorbell wiring?
Battery models may use one optional power supply: a solar charger, a plug-in adapter, or existing doorbell wiring. Pick just one of them.
Can I install a Ring doorbell without drilling?
Ring’s usual setup relies on screws. They drive directly into wood or siding without any pilot holes. When drilling isn’t an option, like in a rental, contact Ring Support to find out which mounting choices work for your model.
Why won’t my Ring doorbell finish setup in the app?
Distance from the router, a mistyped Wi-Fi password, and missing camera permission for the QR code scan, are usually the main causes. Bring the doorbell over by the router and attempt setup once more.
Written with AI assistance. Facts and sources are checked automatically before publication. How we work